Video Transcript
Hi. I’m Paul with Better Living With Air & More. We sell and repair all types of small infrared heaters along with other items. The EdenPURE heater brand is one that we specialize in. The most common question we get is, “How do I get into my heater to replace a heating element?”
In this video, we’ll show you exactly what you need to know to do that. Today, we’re going to show you how to replace your heating elements in a Gen 3 1000 heater. Let’s start by first showing you the tools that will be required for the job.
Tools Required to open the Gen3 Heater
First, a number 2 Phillips screwdriver. We prefer a magnetic one. Yours doesn’t have to be. A Sharpie marker and a cloth. There are a number of other tools we just always like to have around. They are a regular slot head screwdriver, a pair of needle-nose pliers, and perhaps a regular pair of pliers.
In this video, we are going to be using a cordless screwdriver with a number 2 bit on the end. Let’s begin first by making sure that the heater is unplugged from all electrical sources.
First and foremost, remove your filter cover. Remove your filter. Put it off to the side.
As we said, the Gen 3 1000 and the 1000 XL heaters, for the most part, they’re the same procedure on getting into the heater to change the heating elements. I’m going to show you two ways to do just that. One is the preferred way, and the other way is not so much the preferred way but I’m going to show you that regardless because there are situations you are going to need two ways to get into the heater.
Preferred way of opening the Gen3 Heater
The first is the preferred one. Put the heater over on its top. You’ll see there are three Phillips head screws in the front of the heater, two Phillips head screws in the rear of the heater forward of the rear wheels.
We’re going to start by removing the front three screws, and then removing the last two screws in the front of the rear wheel.
We’re then going to take the heater, place it back on its wheels, and gently give the heater a push, upright, slide the cabinet off the front of the heater. Put the cabinet off to the side. Now you’re inside the heater.
Alternative way of getting in to the Gen3 Heater
Okay. We mentioned there were two ways to get inside the heater. We showed you the first way, which was the preferred way. We’re going to show you another way that’s not so much the preferred way. It’s an alternative way. The reason why I’m going to show you that. First, I’m going to tell you. I’m going to show you that on the 1000 XL only because, as we said earlier in the video, inside the heaters there is a little bit of a difference between the Gen 3 1000 and the 1000 XL.
In what cases would you use the Alternative Way?
The reason why you would even use this method of getting into the heater is because doing it the preferred way is exactly that, the preferred way. However, there are some cases you’re going to find heaters have been out there a long time. Maybe a heater fell, maybe someone sat on it, you had books on it, things happen. The bottom of the chassis of the heater can get bent, it happens, we see it all the time. If that happens, it’s going to be a bear to get that heater out of that encasement. That’s when you want to use the alternative method of getting into the heater.
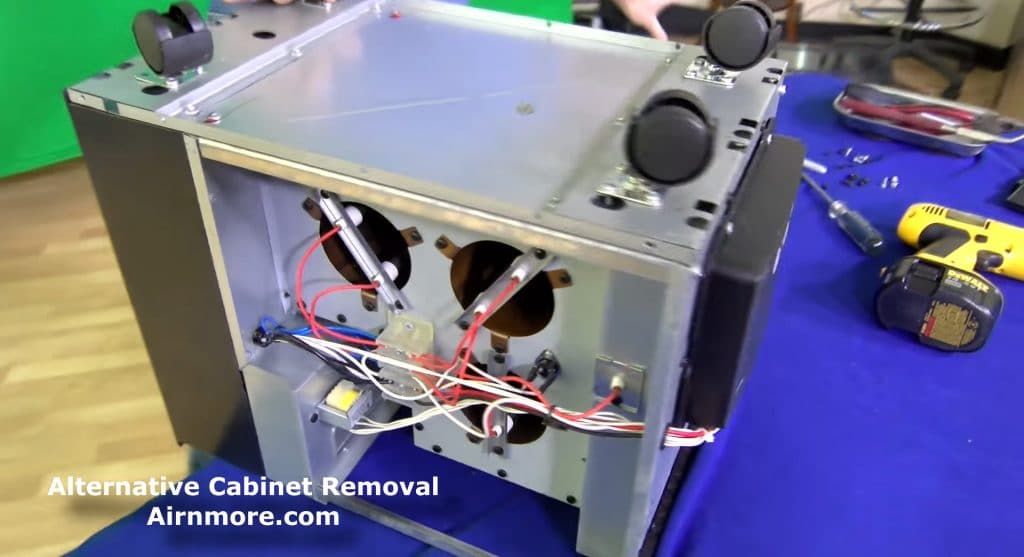
You want to flip the heater over on its top. At this point, you want to remove the side covers. There’s six screws on each side, three on the bottom, three going down the stem of the back.
Remove the covers. Now you have three more screws on the bottom of the heater that are going in in a horizontal position. There’s six total, three on each side.
You have six here going in horizontal. Now you come to the outside and you have two more Phillips screws on both sides, one here in the front, one here in the rear. Same thing on the other side of the heater.
The One Benefit of the Alternative Way
Now, this is the only nice thing about doing this in this way. Just take your hand, steady the front of the heater, take your other hand, your right hand left, however you do this. Hold the front, take your right hand, left hand, pick the heater up, fly the encasement off, put it out of the way. The only nice thing about doing it this way is the wheel stay on the heater. There it is out of the encasement.
Once the heater is out of the cabinet, just visually look at the heater, turn it around so you know what you’re going to be working on. Again, not plugged into anything.
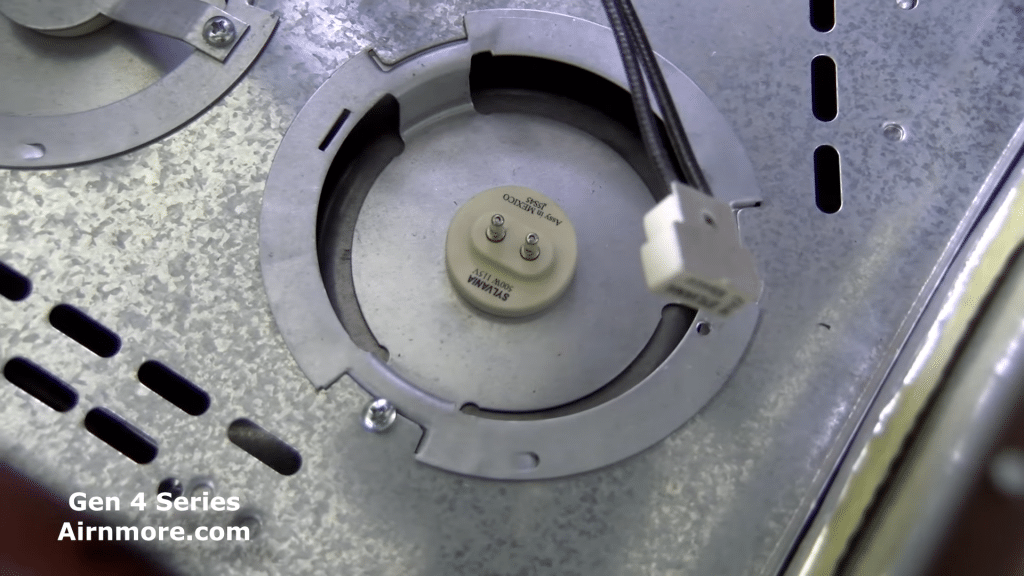
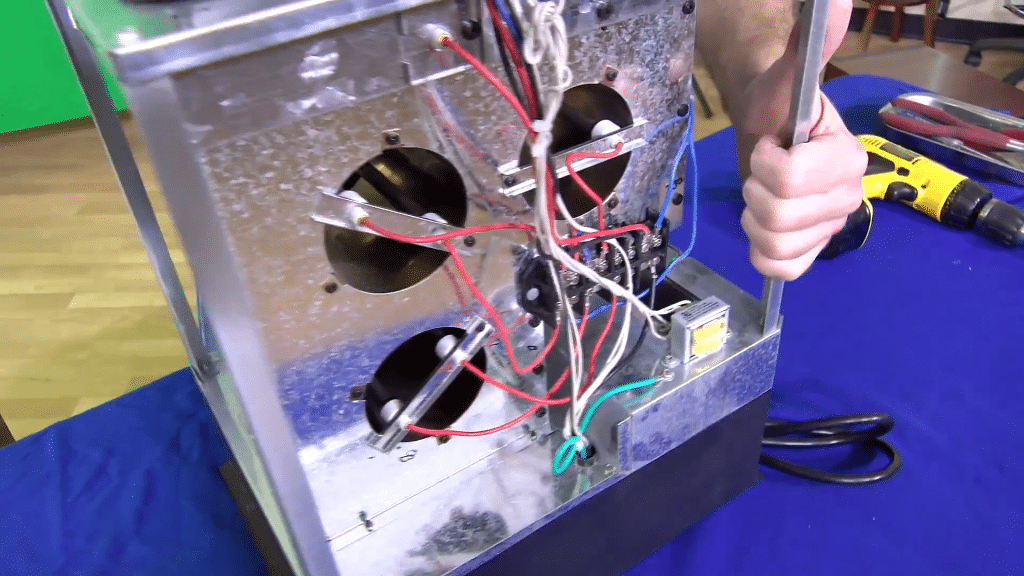
Observe and locate the Gen3 Heating Elements
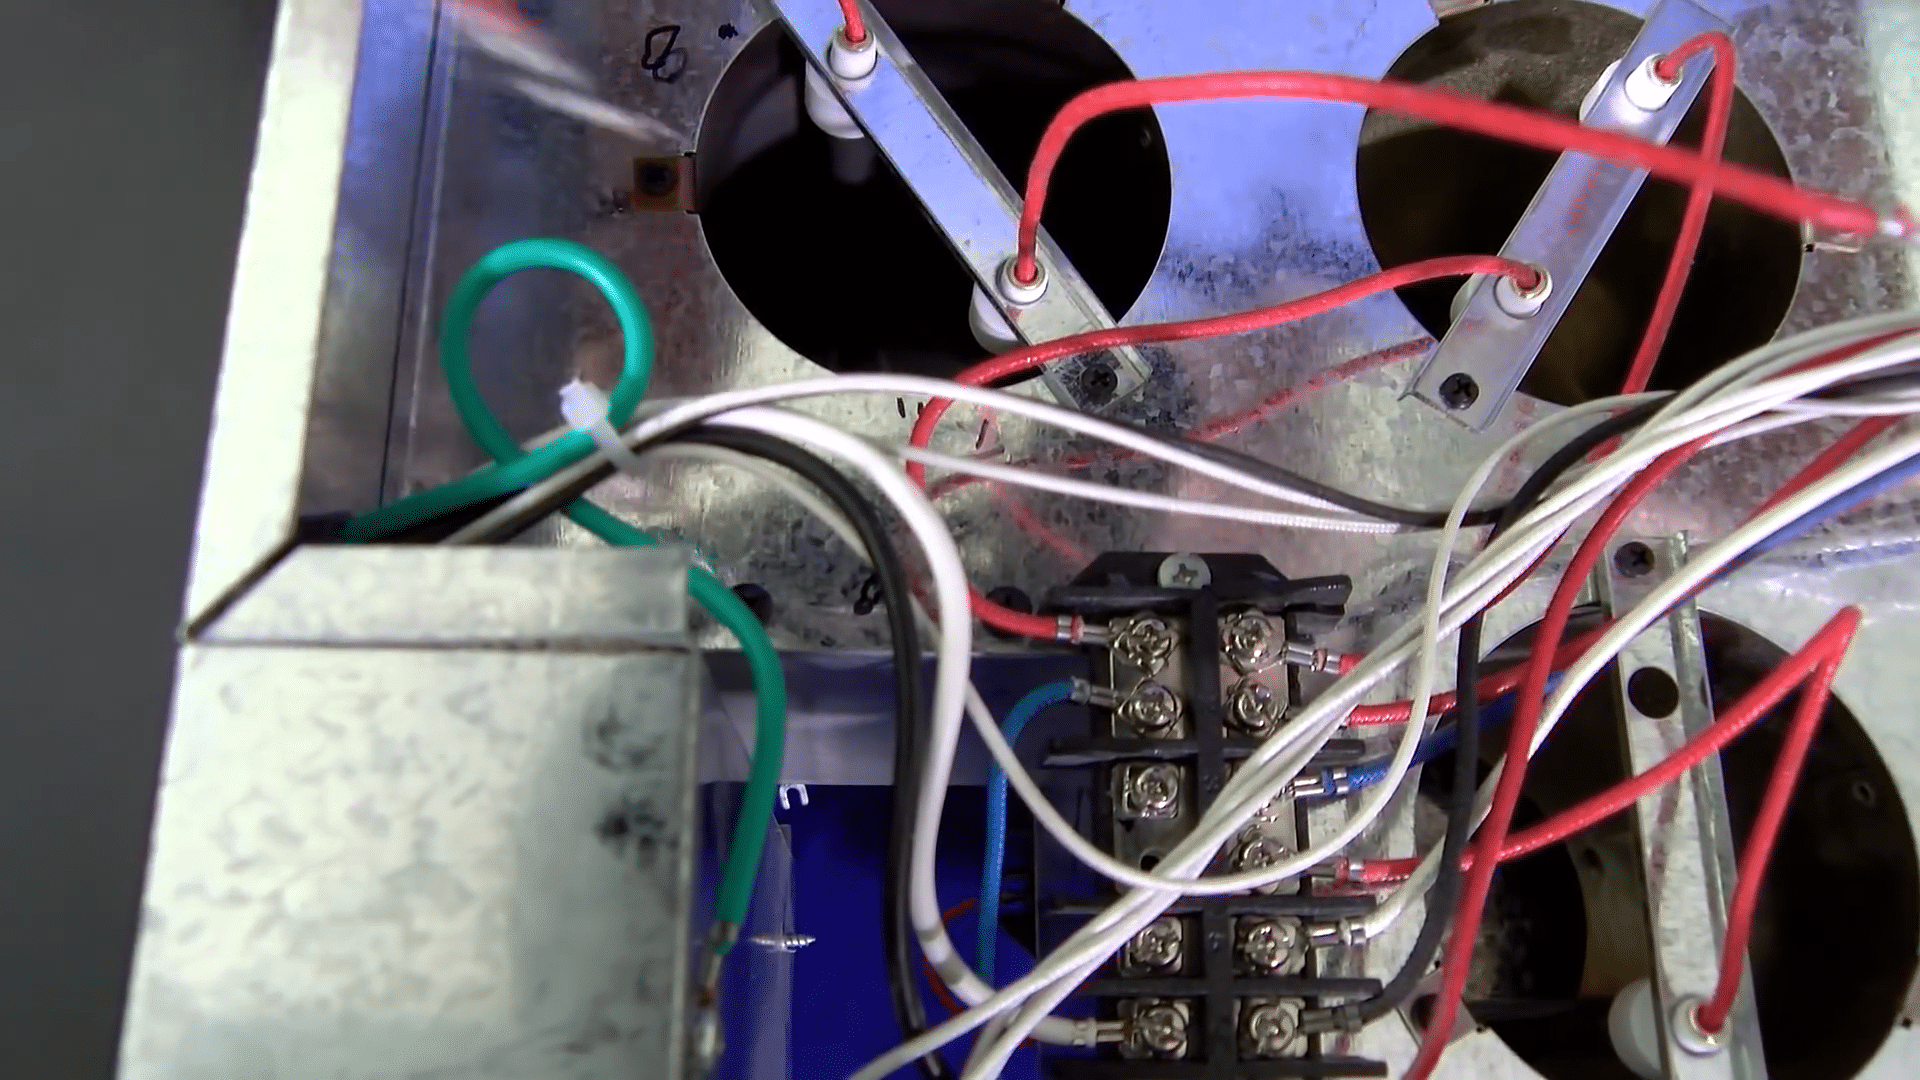
Just look around, make reference to where the elements are, how they’re wired, maybe even take a picture if you have the capability of doing so. Then start by replacing the elements one at a time. There are two elements in two chambers that you’re going to have to work with at one time. It’s very easy to do that. Again, make reference to where the wires go. Use your Sharpie pen and make a mark however it works for you.
Just to know, in case you should get confused on where the elements get wired, where the wires go, you have a reference that you made that you would know. Just make a dot perhaps on the bottom element to where the top screw goes, and start removing the wires one at a time.
Remove the Existing Heating Elements
Straighten the wires. You have a little holder right here that holds the heating element in place in the heating chamber. You want to carefully remove that off the wires. Get that off to the side, take the heater, flip it around. Here are your two wires coming through. Again, just make reference to where they are, very simple, and the element is removed. It’s the same procedure for the remaining elements. It’s very important to make a reference for yourself. My reference would be different than your reference. Whatever works for you, take a picture before you start replacing. But whatever works for yourself, make reference to where the wires go one at a time and you’d be fine at replacing.
Install the new Heating Elements
Reinstalling, very simple. Take the wires, make sure they are straight, feed them into the heat chamber, take your holder over each wire one at a time. Look for your reference, refer to a picture if you had taken one.
Every element kit that we do send out from airnmore.com, we include a picture of the inside of the heater just in case you do get confused on where the elements are wired to.
Turn the heater around. Again, if you’ve made a reference, a mark or whatever, just make sure you follow that reference, put the wires back in the appropriate places. Again, we send a picture with every element kit that we send out.
Same procedure now for the remaining elements. The one tricky one is the long one in the front because it is hidden through an access door right in the front of the heater, very easy to see.
The Phillips head screw is right there, red wire is right here. While you’re inside the heater, it’s a good idea to just do a visual of checking everything, maybe make sure the fan is spinning correctly, make sure it’s not too difficult to turn, and just a good practice to do a good visual of the whole heater inside. These two blue wires are your heat sensor wires. They were wired into the splice box right here as well. Just want to make reference that that’s your heat sensor right there because that does come with a kit from airnmore.com.
Reassemble the Gen3 Heater
Putting your heater back together, back into the cabinet, very simple. Put the heater upright so it’s on its back. Give it a little push. Make sure it’s back with all the holes, five holes line up.
You want to make sure the filter is clean. You want to make sure the filter is in good shape, that it’s not falling apart or deteriorated. At this point, you just make sure the filter is clean again. We can’t emphasize that enough. If you do not have a filter, again, with the kit that we send you through Air & More, we give you a filter. We encourage you to use the filter. There you have it.
I’m Paul from Better Living with Air & More. If you have any questions, you can email me at paul@airnmore.com. Thanks for watching, and look for more videos to come from airnmore.com, and you can always check the website for new products and specials. We’ll see you next time.


