Video Transcript
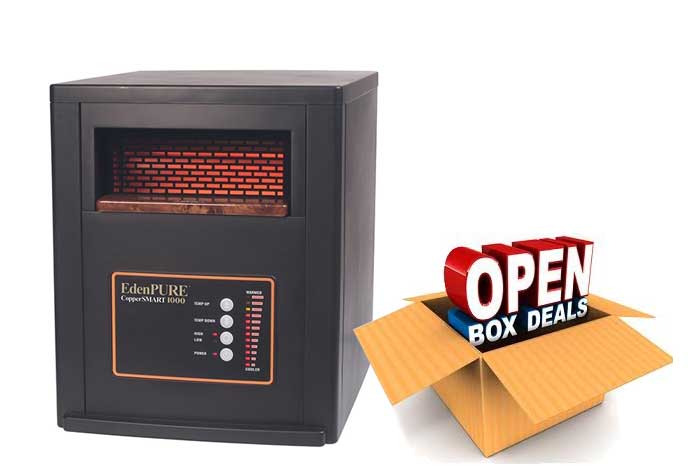
Hi. I’m Paul with Better Living with Air & More. We sell and repair all types of small infrared heaters along with other items. The EdenPURE heater brand is one that we specialize in. The most common question we get is, how do I get into my heater to replace a heating element? In this video, we’ll show you exactly what you need to know to do that.
Today, we are going to show you how to change the heating element inside your EdenPURE Gen 4 & USA 1000 heaters. Let’s start by first showing you the tools that will be required for the job. First, a number two Phillips screwdriver. We prefer a magnetic one, yours doesn’t have to be. A sharpie marker and a cloth. There are a number of other tools we just always like to have around. They are; a regular slotted screwdriver, a pair of needle nose pliers, and perhaps a regular pair of pliers.
In this video, we are going to be using a cordless screwdriver with a number two bit on the end. This is probably the easiest one to work on. Take your filter cover out and your filter, just remove that, get that out of your way. Flip your heater up. It’s very simple, there are four screws to remove to get this plate off. However, there is another model out there that I do not have here today and it’s the A4428 Gen 4 series. That just gives you an added screw that you have to remove in the back of the heater, everything else inside is virtually the same.
You want to remove these little tabs that they have on here, that’s a little safety label that they put on in the factory. You want to remove that. Remove the Phillips head screws that are hidden behind those. Another one of the phillips screw in the back. A total of four Phillips head screws. Take the cover off. Inside the heater, some heaters use two Phillips head screws up on the top to hold this panel in place. Others use one. Some of the models use two Phillips head screws on the bottom, other models use one.
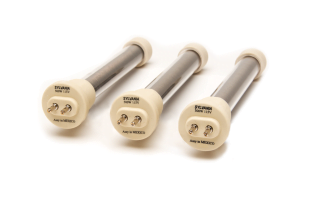
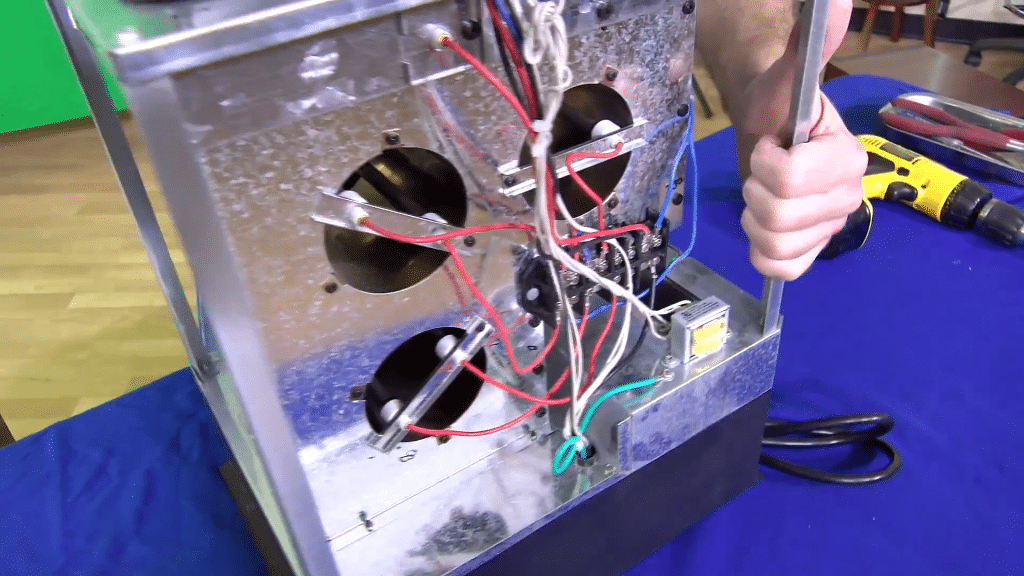
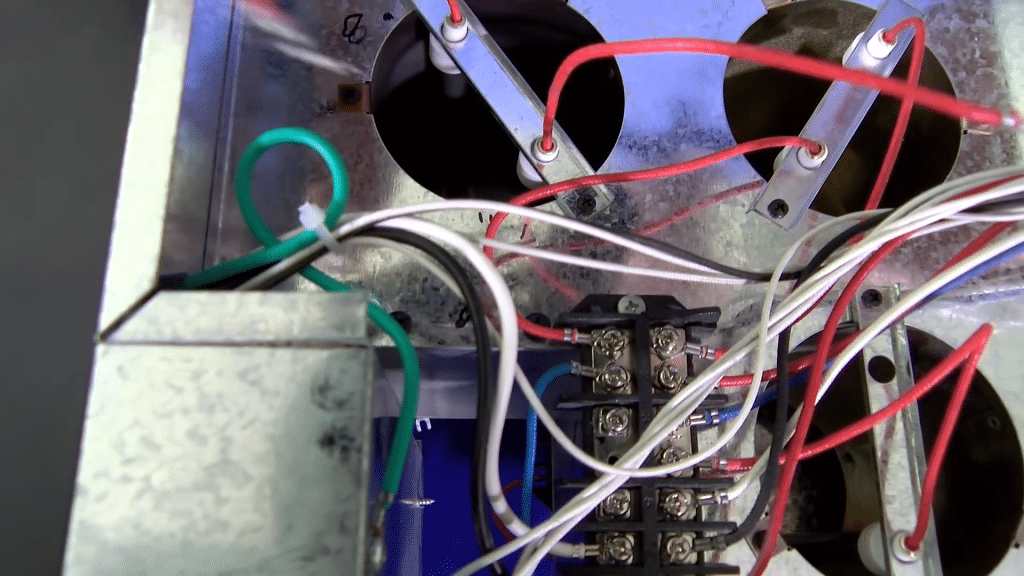
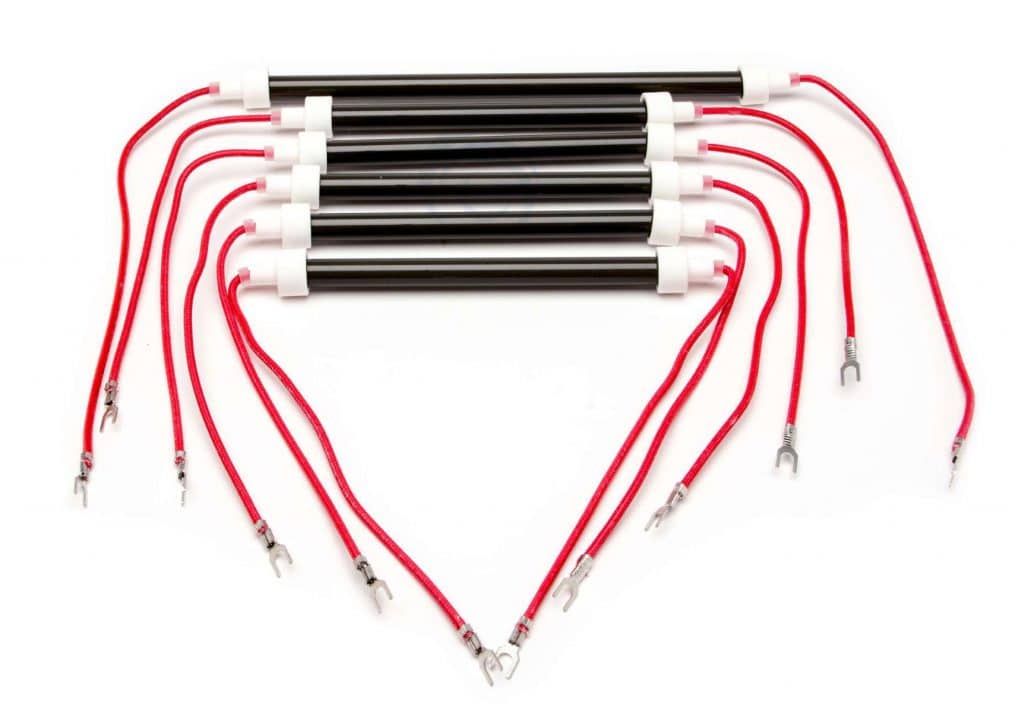
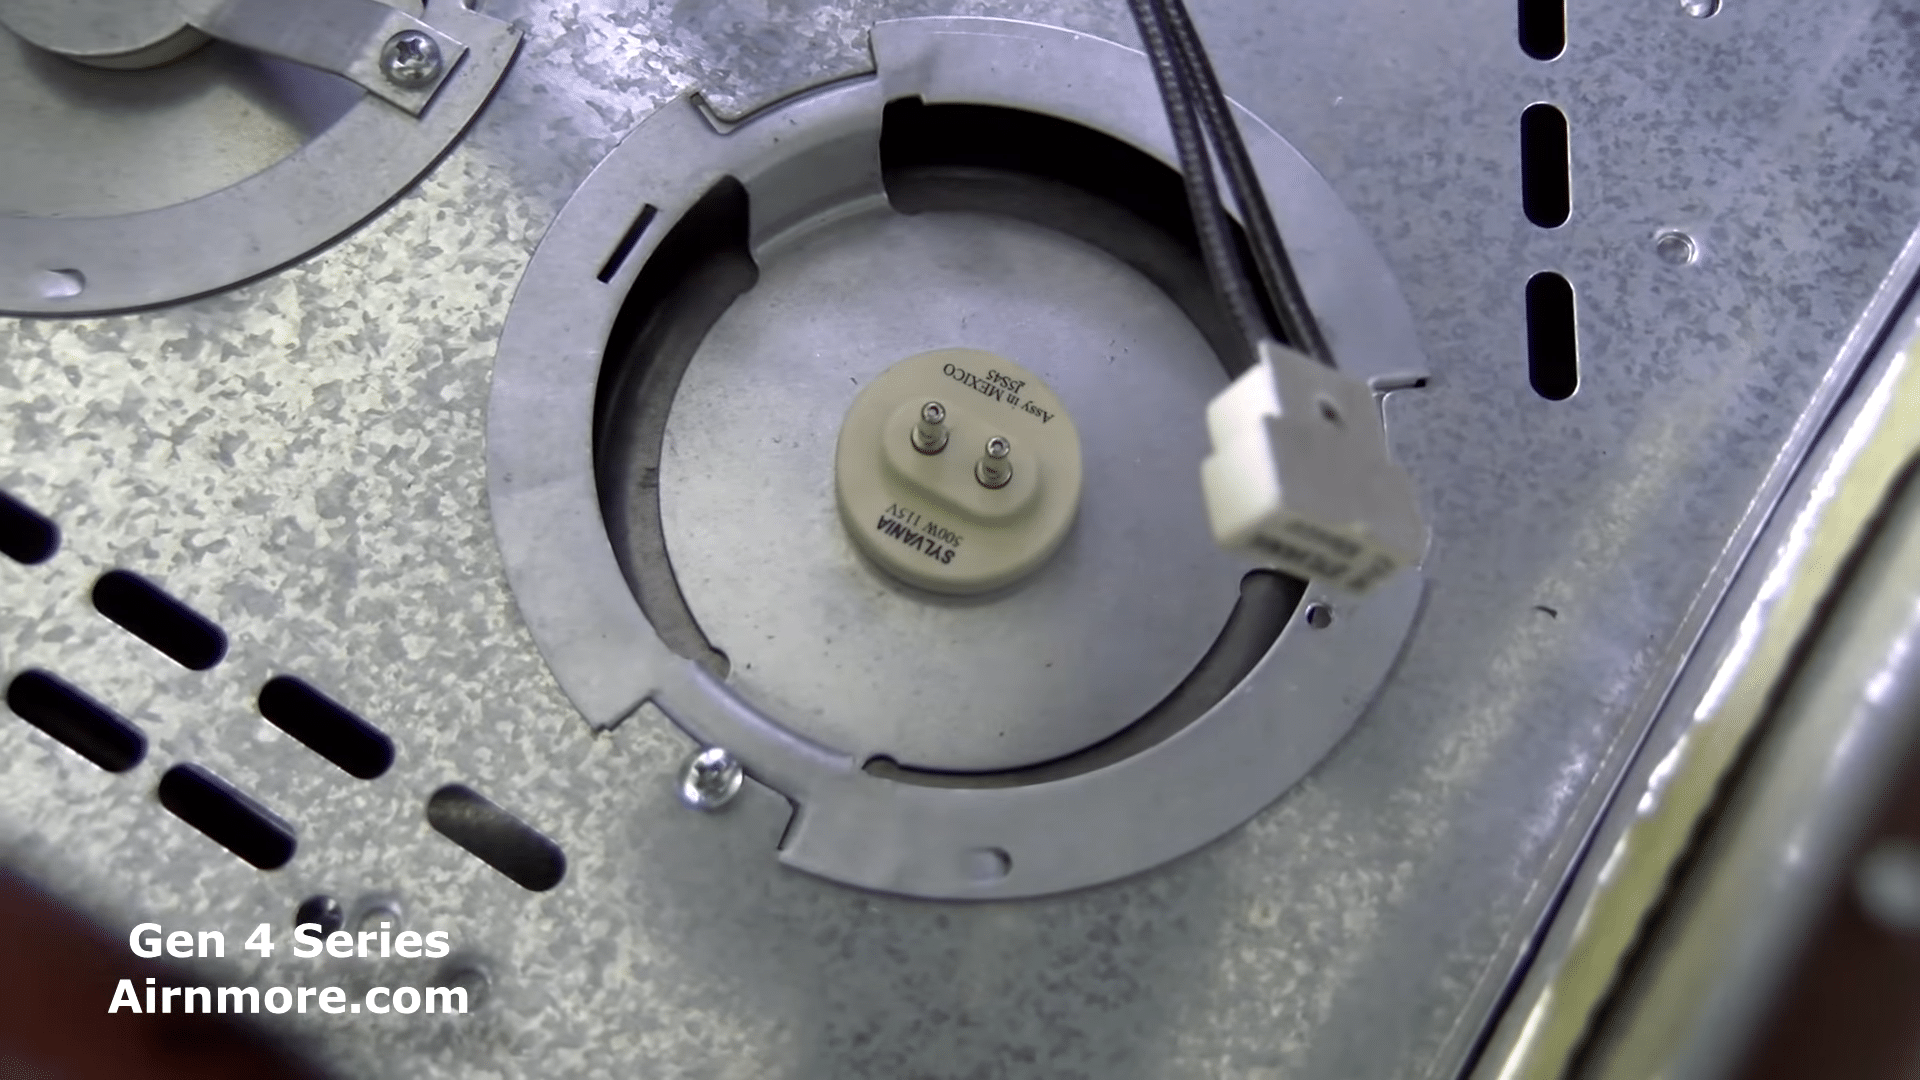
This particular one, the US Gen 4 uses one on the top with this little reinforcing plate that holds the back panel in place and one on the bottom. We’re going to remove those. With that done, you’re going to take the fan motor, slide the whole plate up a bit, back towards you and you’re going to be looking at three connectors go with the heating elements. Grab hold of the connectors, do a little wiggle, pull the connector off, same on the left chamber, same on the rear. There’s no marking necessary here. It’s really straightforward. You’re going to just remove the wires. The wires can basically– The short wire on the bottom can only go to the bottom and the top two ribbons, it doesn’t really matter which way they go, but you’re going to see. They’re going to just flow right into place. Just watch you don’t cut yourself on the metal of the heater. It’s very simple. Fill up the screw, crossover bar, holding in an element, screw comes out, holder comes off and the old heating element is out. Insert the new heating element. There’s a little holder that holds the very tip of the element and you want to find that holder, which you can, by wiggling that element around. There it is. Put the bracket back on. Line up the element to the holder. Take your wire. Push them back on your heating element. Your back panel, you want to make sure there’s two little slots here that this panel will slide into. You want to keep that up there. You’ll know they’re in line and it’s in the correct location when the bottom hole, fill up hole lines up. Bracket it back in the front of the heater.
Put the heater back on its wheels. Filter back in. Wrap your cord back up. The Gen 4 heater is set to go.
I’m Paul from Better Living With Air & More. If you have any questions, you can email me at paul@AirNmore.com. Thanks for watching and look for more videos to come from airnmore.com. You can always check the website for new products and specials. We’ll see you next time.


